Step 1: Layout & Mark-Out
**If using a self-closing gate, skip this step and refer to the Gate Location, Layout, & Mark-Out instructions.
Layout
The fence should be a minimum 2' off the pool edge. See Fig. 1 & Fig 2

Starting Point
- Is the manual opening to enter the pool area. See Fig. 1 Use the double hole on the section template provided and mark your first hole 1L Fig. 3. 1L is for the 1st pole of the full section going to the left side of the pool.

- Now, place the template over the mark 1L that you just marked and mark your next hole, 1R Fig. 4. 1R is for the 1st pole of the full section going to the right side of the pool.

Mark-Out
- Once both holes of the start point are marked, (1L & 1R) place the template provided over 1R Fig. 5.

- Then place the template over 1R and mark your second hole for that section (Fig. 5a).

- Now repeat until the 5th pole of the section Fig. 6-7a.


- Mark your last hole for that section, (hole 5) Fig. 7a.


- Then use the double hole on the template and align it over the 5th hole you marked Fig. 7b and mark thefirst hole of the next connecting section to the right, (hole 1). Repeat these steps on both sides of the pool until you reach the section that will be the cut section. For additional information call 561-316-6418
Full Pool Fence DIY Installation Layout Diagram
- See Fig 8 below. All full sections have 5 poles attached to the mesh. When marking-out, make sure you always count your holes before marking-out your next section. Also count your holes again before you drill to make sure you didn’t mark too many or too few holes.

Custom Cut
Is when the last piece is less than the 36" template. Marking your custom cut is just like marking out a full 3 foot panel only the last panel is usually shorter than 3 feet. This is the custom cut you will make later. This section is the last one marked out, usually in the back of the pool, where you will not notice it. The last piece will most likely have fewer poles in it. This example depicts a two pole cut. For additional information call 561-316-6418.
Lay Back Holes
Are needed for the manual opening and are used to place the end poles of the section into when using the pool. See Fig. 9 & 10
Fence Line: -----------

Design Your Own Pool Fence
Calculator Step 1 of 14
Installing a Complete or Partial Fence?
Will your fence go completely around the pool, or will you be attaching it to an existing wall or barrier?
Fence will go completely around the pool
Fence will be attached to existing fence or wall


Calculator Step 2 of 14
Fence Height
($7.90 / foot)

*MOST POPULAR*
($10.84 / foot)

*Meets California code*
Calculator Step 3 of 14
Fence Color


Calculator Step 4 of 14
Total Fence Length
What is the total length in feet you will need for your fence?
If your fence will be completely in a hard surface, e.g. concrete, thick wood, tiles over concrete or a hard subsrate, stone, etc., leave the number of feet over grass as "0" and vice versa.
If your fence will be partly in a hard surface and partly in grass, enter the total number of feet of fence you will need in each surface into the two fields below.
Calculator Step 5 of 14
Arched or Flat Top Gate
Your self-closing gate can either have the standard flat top or be upgraded to an arched top.

Calculator Step 6 of 14
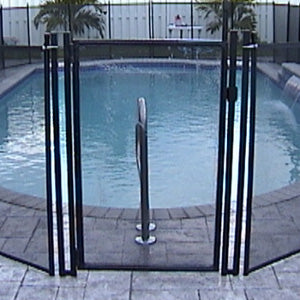
Self-Closing, Self-Latching Gates
How many self-closing, self-latching gates would you like?
Gates that will be in a hard surface
Gates that will be in grass/dirt
The Pool Fence DIY system includes a manual opening at no charge. Self-closing, self-latching gates are recommended by everyone from the American Academy of Pediatrics to the Consumer Product Safety Commission to the National Drowning Prevention Alliance. Besides being safer, they are also MUCH more convenient. A must if you have older children who use the pool.
Calculator Step 7 of 14
90° Turn Posts
Are you making any 90° turns? If yes, how many?

Calculator Step 8 of 14
Accessories
This item is HIGHLY recommended to ensure the fence is properly installed.
Will you need the Pool Fence DIY Drilling Guide with Bubble Level?
$117.56 $98.05
Sorry, item currently out of stock.

Calculator Step 9 of 14
Rotary Hammer Drill
The Pool Fence DIY Rotary Hammer Drill is the recommended hammer drill for installing this style of mesh pool fencing. Having the right tool for the right job makes installation go smoother. It also comes with a 16" long x 5/8" diameter drill bit, which is the recommended bit for this installation and is the correct length for the Pool Fence DIY Drill Guide, which is highly recommended.
$174.39 $138.89
Sorry, item currently out of stock.

Calculator Step 10 of 14
Drill Bits
Do you need the correct bit for your hammer drill (or an extra bit)?
Pool Fence DIY SDS-Plus Masonry Bit 5/8th Inch Diameter by 16 Inch Length (compatible with the Pool Fence DIY Rotary Hammer Drill)
Pool Fence DIY Standard (Smooth Shank) Masonry Bit 5/8th Inch Diameter by 16 Inch Length (for non-SDS compatible hammer drills)
$16.08 each

Out of Stock
$15.58 each

Out of Stock
Calculator Step 11 of 14
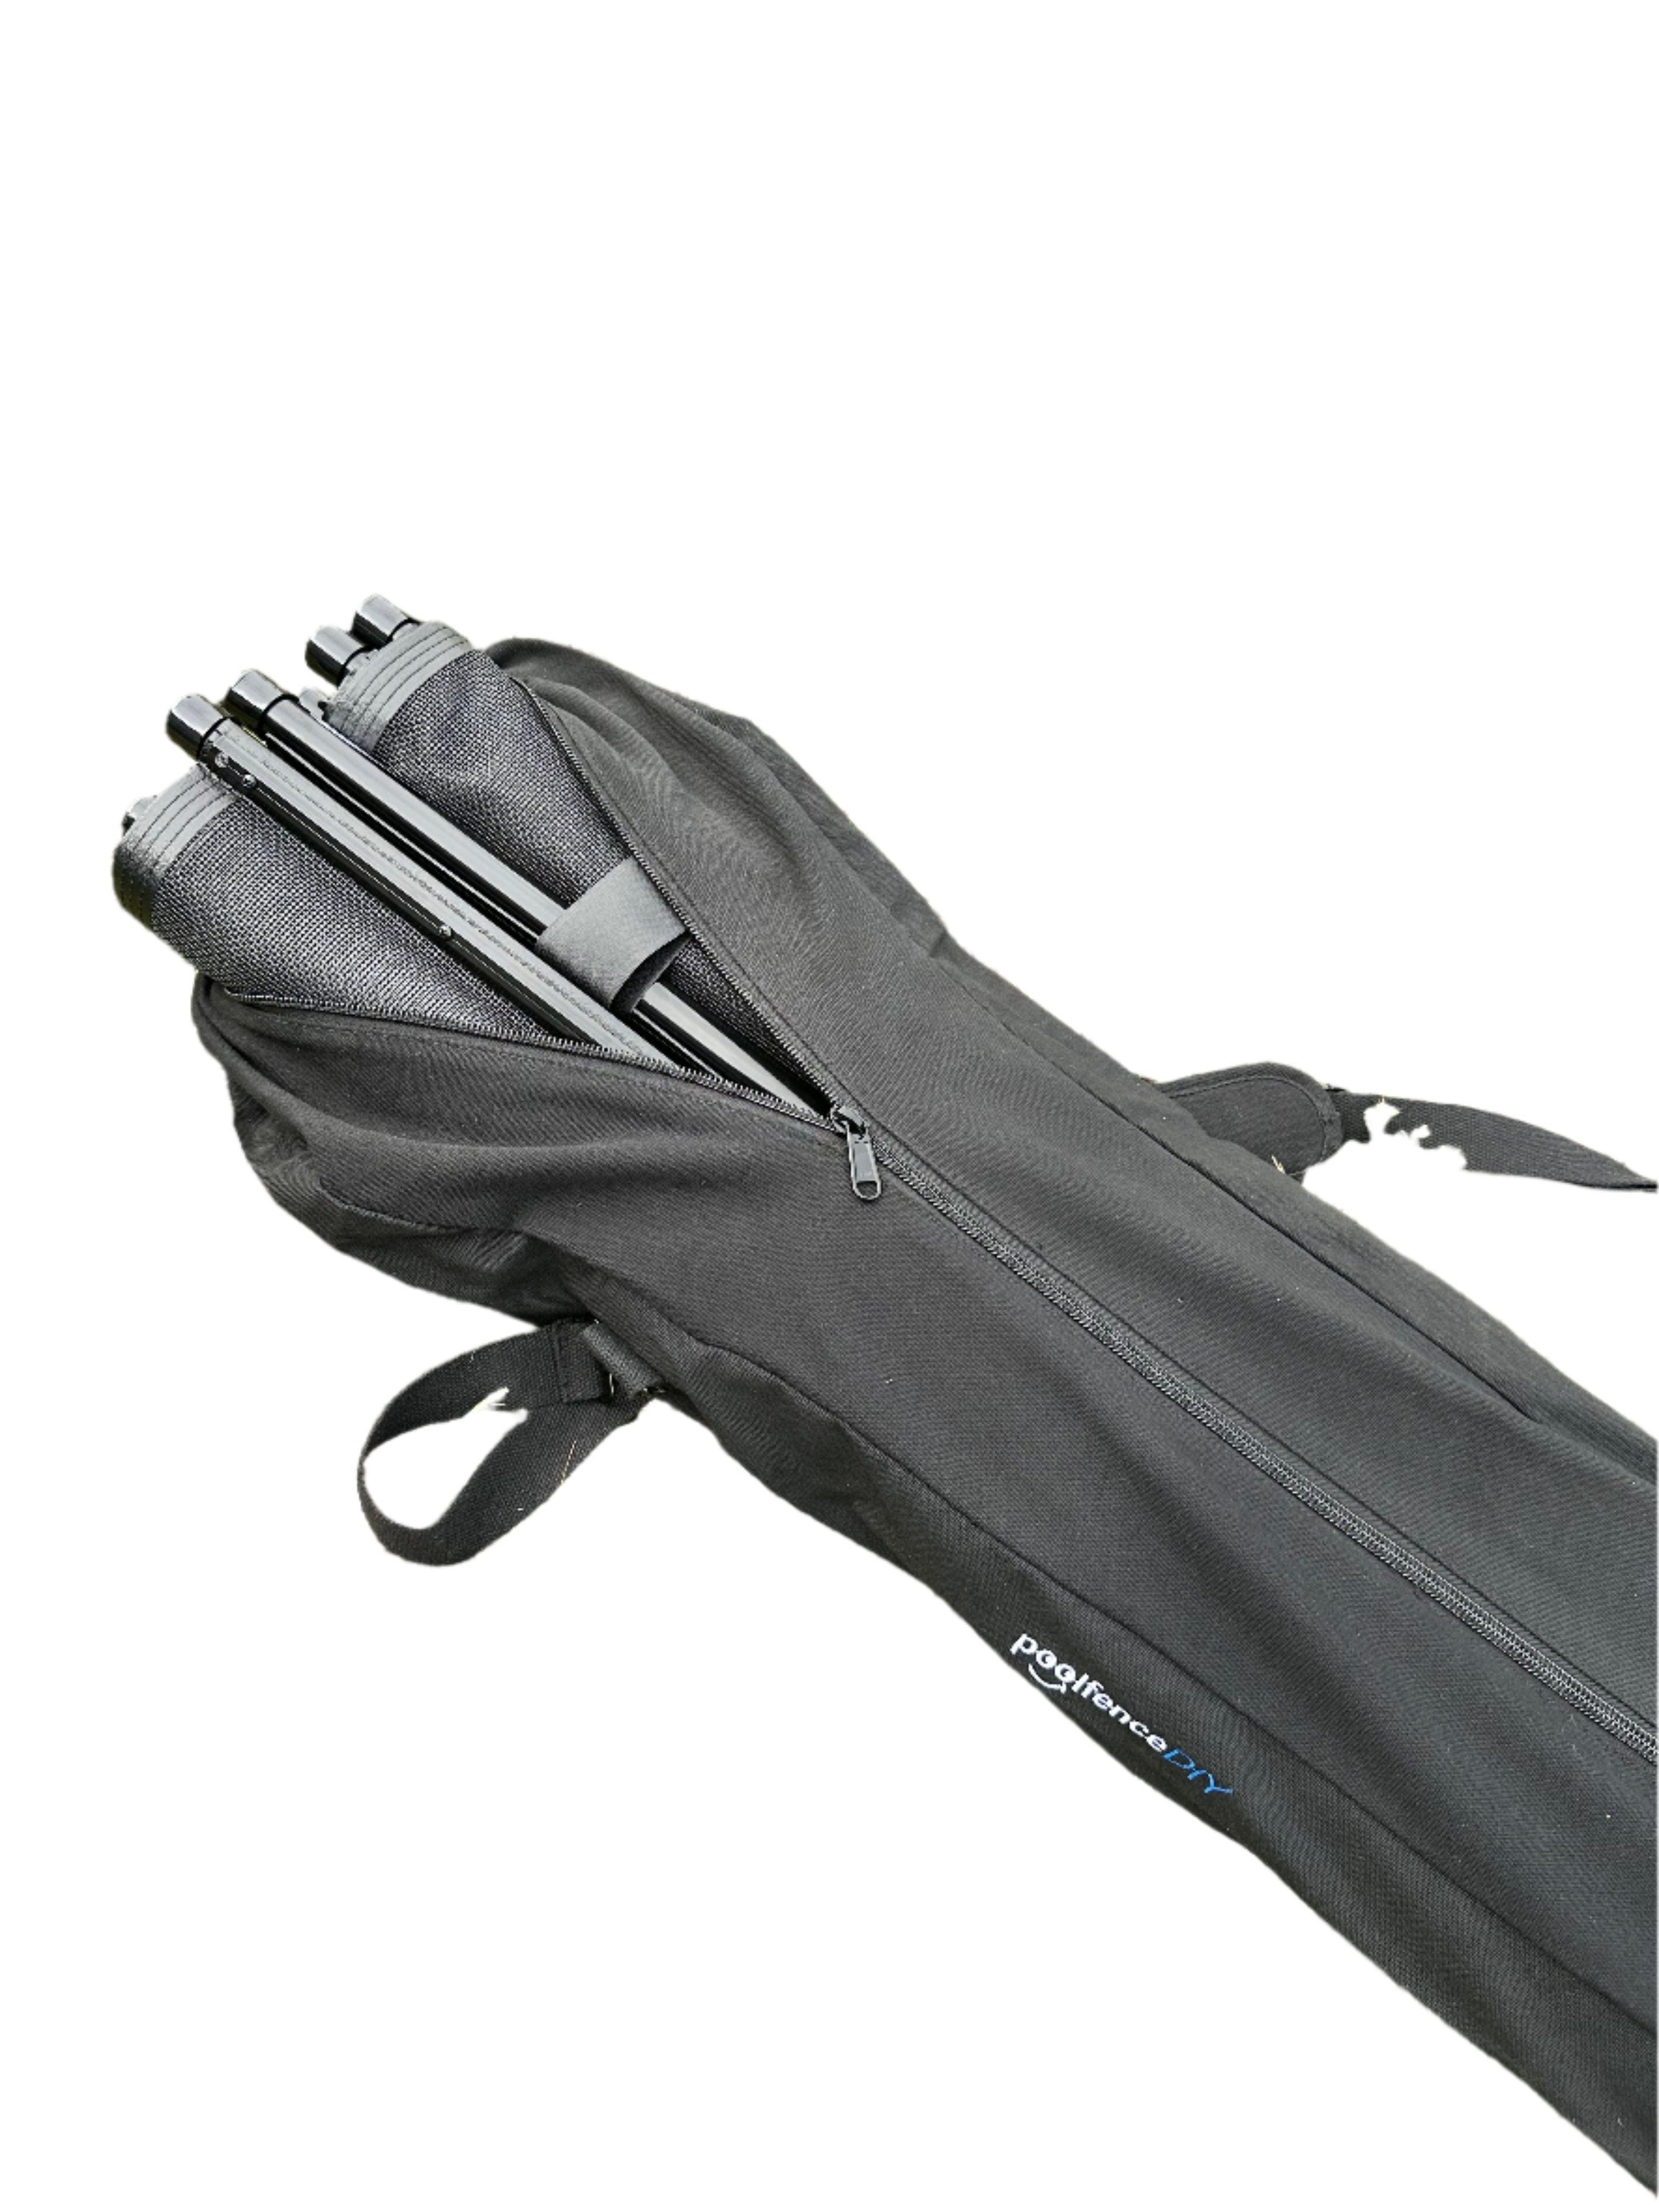
Do you want storage bags for your fence sections?
Our Pool Fence Section Storage Bag offers a reliable and convenient way to store and transport your fence sections. Each bag is designed to hold two 4-foot sections and includes two smaller straps to wrap each section securely, keeping everything compact and ready for storage. Made from heavy-duty canvas with a strong zipper, this bag is built for durability. Rubber pads on the bottom prevent canvas wear and slipping when the bag is stood on end. With a comfortable shoulder strap for easy carrying, this storage bag is an ideal choice for off-season storage or anytime your pool fence is not in use.
$39.00 each
Sorry, item currently out of stock.
Calculator Step 12 of 14
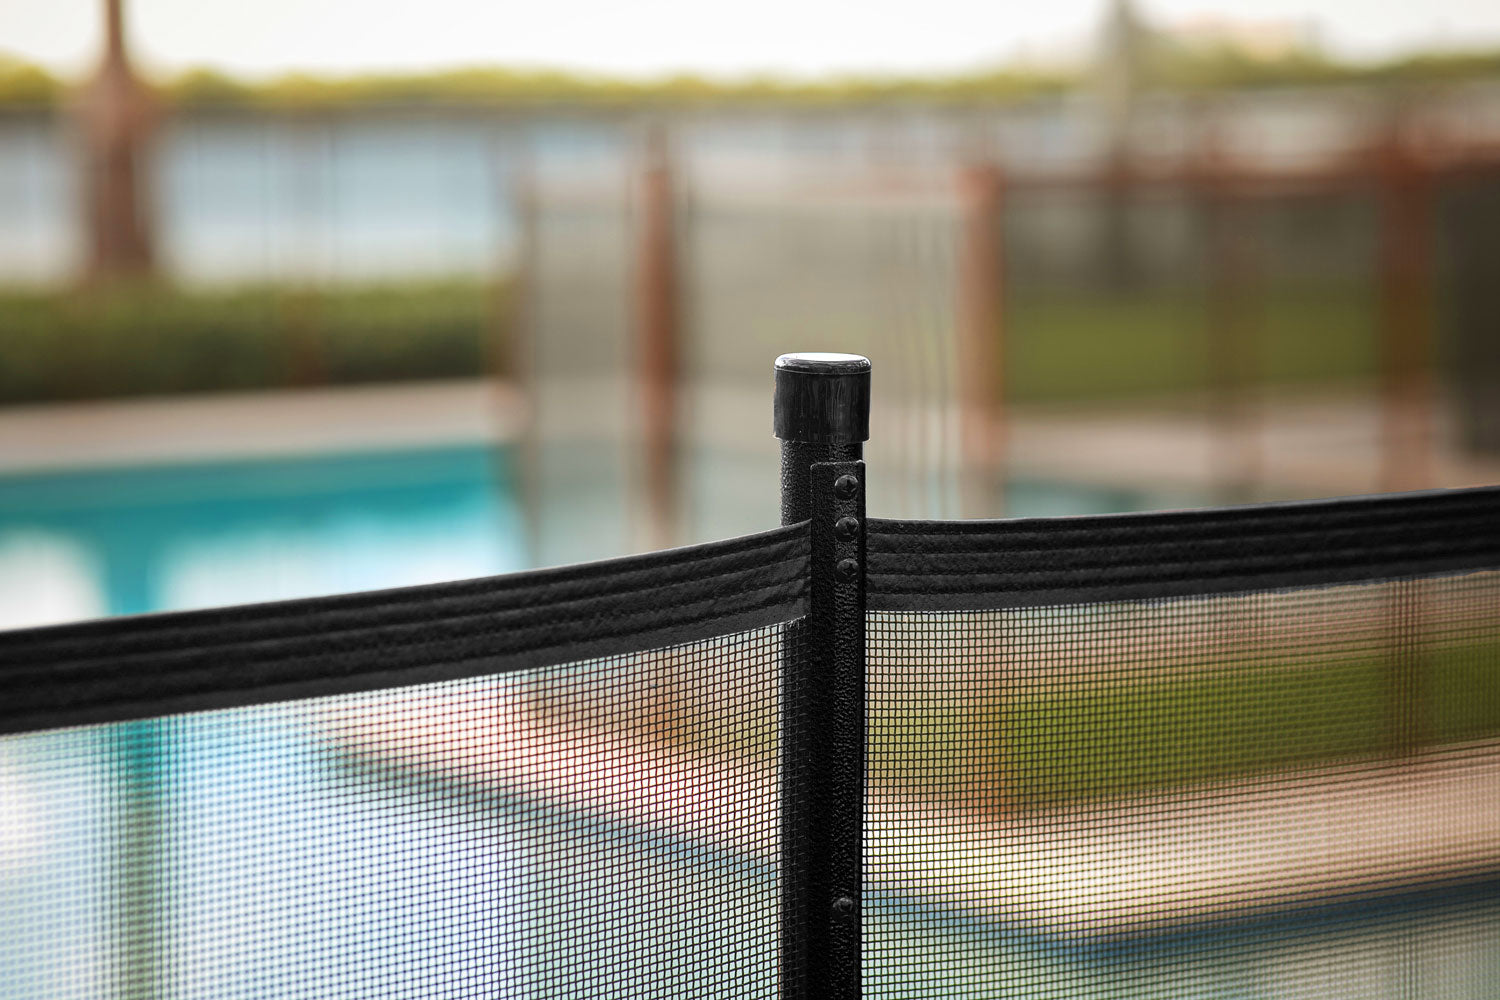
How many Solar Lights do you want on your fence?
$8.18 each
Quantity:
Sorry, item currently out of stock.


Calculator Step 13 of 14
Do you want to add Omni-Hangers to your fence?
How many two-packs you would like with your fence?
$21.79 per two-pack
Quantity:
Sorry, item currently out of stock.

